
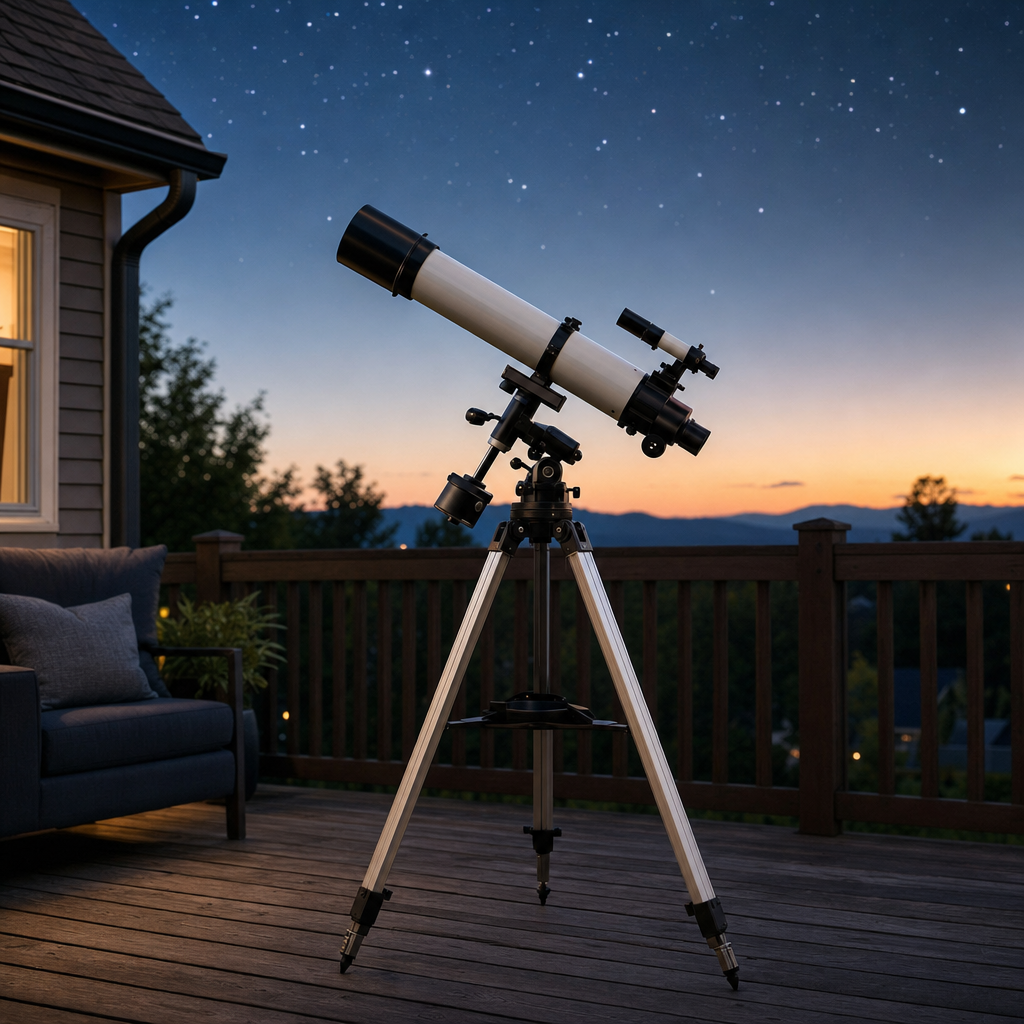
Understanding Telescope Basics and Optical Designs
When searching for the best telescope for beginners, the sheer variety of optical designs available on the market can feel overwhelming. At its core, a telescope is simply a device designed to gather more light than the human eye can collect on its own, allowing you to see distant celestial objects with greater clarity and detail. There are three primary optical designs that dominate the consumer market: refractors, reflectors, and catadioptrics. Refractor telescopes use a glass lens at the front of the tube to bend and focus light, offering crisp, high-contrast images of the Moon and bright planets. Reflectors use a curved mirror at the base of the tube to bounce light up to a secondary mirror near the front, providing larger apertures at a more affordable price point. Catadioptrics combine both lenses and mirrors in a folded optical path, resulting in a compact, portable instrument that is easy to store and transport.
A common misconception among first-time buyers is that magnification is the most important specification of any telescope. In reality, aperture—the diameter of the main lens or primary mirror—is the single most critical factor determining a telescope’s performance. A larger aperture gathers more light, which in turn reveals fainter nebulae, distant star clusters, and subtle details on planetary surfaces. Beginners should prioritize aperture over high magnification claims printed on flashy retail packaging, as excessive magnification through a small lens will only yield blurry, unusable images. Most beginner telescopes feature apertures ranging from 70 millimeters to 130 millimeters, striking a healthy balance between light-gathering power, physical weight, and overall financial investment for newcomers learning the craft.
Evaluating Mounts and Stability for New Observers
The optical tube assembly gets most of the attention, but the mount holding the telescope is equally important for a satisfying viewing experience. A wobbly mount will turn stargazing into a frustrating exercise, because even the slightest breeze or touch of the focusing knob will cause the image to shake violently at high magnification. Telescope mounts generally fall into two categories: alt-azimuth and equatorial. An alt-azimuth mount operates much like a standard photographic tripod, moving simply up-and-down and left-to-right. This design is intuitive, lightweight, and exceptionally easy for beginners to set up and use immediately in their backyards without requiring complex alignment procedures or prior astronomical knowledge.
Equatorial mounts are designed differently, featuring an axis that must be aligned with the celestial pole of the Earth. While they look intimidating, equatorial mounts allow observers to track the apparent motion of stars across the sky with the adjustment of just a single slow-motion cable, compensating for the rotation of the Earth. However, they are heavier, more complex to balance, and require a learning curve that might deter casual observers. Beginners should carefully weigh their desire for simplicity against their interest in long-exposure astrophotography when deciding which mounting system best suits their personal goals, physical strength, and storage space at home.
Key Considerations Before Making a Selection
Portability is a frequently overlooked factor that heavily influences how often a telescope is actually used by a beginner. A massive, feature-rich telescope that remains permanently locked inside a hall closet because it is too heavy to carry outside serves no practical purpose. Observers living in urban areas with high levels of light pollution often need to pack their gear into a car and drive to darker skies in state parks or rural reserves to see deep-sky objects clearly. Therefore, considering the physical weight, length of the optical tube, and the number of separate pieces required for assembly is vital before committing to any specific model or optical configuration on the market.
Accessories also play a massive role in shaping the beginner experience, as telescopes rarely come fully equipped with every necessary component out of the box. Eyepieces determine the magnification of the view, and having a small selection—such as a low-power eyepiece for wide fields and a high-power eyepiece for lunar craters—is essential. Finderscopes, which are small sighting devices mounted parallel to the main tube, help you center objects before looking through the main eyepiece. Additionally, a sturdy pair of binoculars can serve as a fantastic companion tool for learning constellations and scanning the Milky Way before setting up a more complex optical instrument.
- Check the aperture size first: aim for at least 70mm for refractors or 114mm for reflectors.
- Ensure the tripod is rigid, stable, and made of sturdy aluminum or steel rather than flimsy plastic.
- Factor in storage space at home and transportation needs if you plan to travel to dark sky locations.
- Invest in a red flashlight to preserve your night vision while reading star charts in the dark.
Managing Expectations and Real-World Viewing
One of the most valuable pieces of guidance for anyone researching the best telescope for beginners is managing visual expectations. Photographs published by space agencies and professional observatories are processed, long-exposure color images that bear little resemblance to what the human eye perceives through an eyepiece. Through a backyard telescope, distant galaxies and nebulae typically appear as faint, ghostly gray smudges of light rather than vibrant, multicolored cosmic tapestries. Planets like Jupiter and Saturn will show distinct cloud belts and rings, but they will appear relatively small, requiring patience and trained observation skills to notice subtle surface details over time.
Atmospheric conditions also dictate the quality of your viewing sessions on any given night, regardless of how much money you spend on equipment. Turbulence in the upper atmosphere, humidity, dust, and local thermal currents rising from pavement or rooftops can blur images significantly at high magnification. Learning to check weather forecasts specifically for cloud cover, atmospheric transparency, and astronomical seeing conditions is a core skill for any amateur astronomer. Developing realistic expectations helps prevent disappointment and fosters a deeper appreciation for the genuine thrill of hunting down and identifying real celestial wonders with your own eyes.
Practical Tips for Your First Night Under the Stars
Once you acquire a telescope, the first setup should always take place during daylight hours inside your home or living room. Practicing assembly, attaching the finder scope, inserting eyepieces, and operating the focus knobs while the sun is still up prevents frustration in the dark. When you finally venture outside at night, give your eyes at least twenty minutes to fully dark-adapt away from bright indoor lights, streetlights, and smartphone screens. This biological adaptation dramatically increases your visual sensitivity, allowing you to perceive fainter stars and subtle nebula structures that would otherwise remain completely invisible in the eyepiece.
Starting with easy targets helps build confidence and familiarity with your new instrument before tackling elusive deep-sky objects. The Moon is the ultimate first target, offering breathtaking craters, mountain ranges, and maria that remain stunning even through modest entry-level instruments. Bright planets such as Venus, Mars, Jupiter, and Saturn are relatively easy to locate and provide immediate visual gratification. Utilizing smartphone planetarium applications can also help you map out the night sky in real-time, pointing you directly toward constellations, planets, and prominent star clusters visible from your specific geographic location and time zone.
Frequently Asked Questions
How much should a beginner expect to spend on a decent telescope?
A quality entry-level telescope typically costs between two hundred and four hundred dollars. Avoid extremely cheap department store models under one hundred dollars, as poor optics and shaky mounts often lead to frustration.
Can I take professional photographs with a beginner telescope?
Basic entry-level telescopes are designed for visual observation rather than astrophotography. While you can mount a smartphone to take casual snapshots of the Moon, deep-space imaging requires specialized, expensive tracking equipment.
Do I need a computerized GoTo telescope to get started?
Computerized GoTo mounts automatically locate objects using built-in databases, but they require power sources and alignment procedures. Many beginners prefer manual scopes to learn constellations and star-hopping skills organically.
Why is my view through the telescope completely blurry?
Blurry views are usually caused by failing to focus properly, observing through closed windows, atmospheric turbulence, or attempting to use too much magnification for the aperture size of the telescope.
Article Was Generated By AI.