
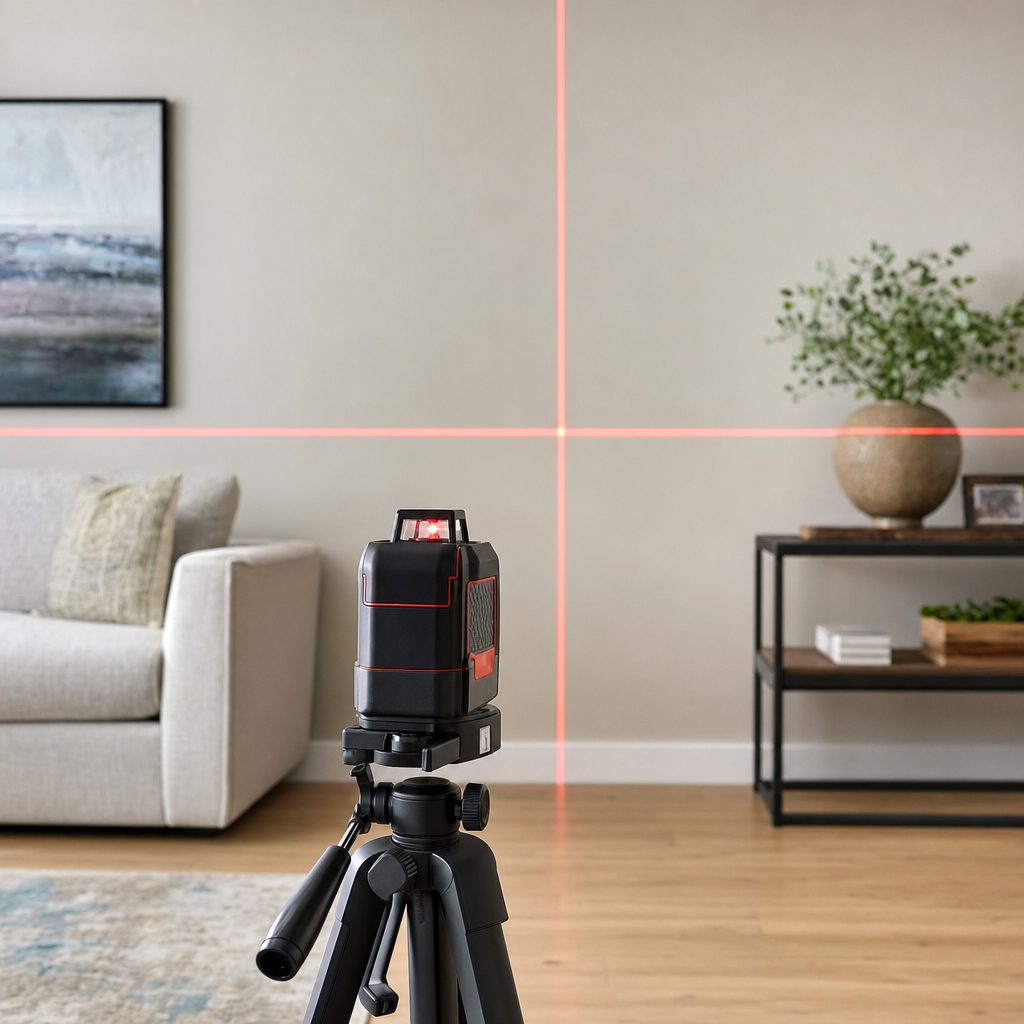
Introduction to Modern Laser Level Technology
When undertaking home improvement projects, hanging pictures, or framing walls, achieving absolute precision is essential. Traditional bubble levels have served builders for generations, but modern technology has revolutionized layout tasks with the introduction of laser levels. These devices project visible beams of light onto surfaces, creating straight horizontal and vertical reference lines that eliminate the guesswork from aligning objects across long distances. Whether you are installing kitchen cabinets, laying tile, or grading a backyard, understanding the core technology helps you identify the best laser level configuration for your specific household or professional requirements.
The primary advantage of using a projected light beam over traditional manual tools is continuous visibility and extended reach. A standard spirit level only shows alignment over the physical length of the tool, which can introduce cumulative errors when transferring marks across a large room. In contrast, laser tools project across entire walls and corners simultaneously. This capability allows multiple workers or a single DIY enthusiast to maintain consistent height references without constantly repositioning physical tools, dramatically improving efficiency and reducing measuring mistakes during critical installation phases.
Categories of Laser Levels and Their Applications
Laser devices generally fall into three distinct categories based on their functionality and design. Line lasers are the most common variety for indoor residential tasks, projecting bright red or green lines horizontally, vertically, or in a cross pattern. Rotary lasers, on the other hand, spin a single dot rapidly to create a 360-degree plane of light, making them ideal for large-scale outdoor construction and grading work. Finally, point or plumb lasers project specific dots onto floors and ceilings, which proves invaluable for transferring points during framing, recessed lighting installation, and structural alignment tasks.
Selecting the appropriate category depends heavily on your typical working environment and project scope. Indoor projects such as hanging wallpaper, installing wainscoting, or aligning shelving rarely require the heavy-duty range of a rotary device. Instead, a compact cross-line model provides ample coverage and precision for standard room dimensions. Conversely, outdoor site preparation requires specialized rotary units paired with electronic detectors because natural sunlight often washes out standard laser diodes, rendering them invisible to the naked eye without specialized viewing glasses or receiver sensors.
Evaluating Red Versus Green Beam Technology
One of the most important decisions when searching for the best laser level involves choosing between traditional red beams and modern green beams. Red diodes have been the industry standard for decades, offering reliable performance in dim indoor environments at an economical price point. However, human eyes are biologically less sensitive to red light wavelengths, which means red lines can become faint or completely invisible when used in brightly lit rooms with large windows or direct sunlight exposure, limiting their versatility for daytime jobs.
Green beam technology has largely transformed the market because green light is up to four times brighter to the human eye than red light of the same power output. This enhanced visibility allows users to project crisp, highly legible lines across larger indoor spaces and even in moderate outdoor lighting conditions without needing an electronic detector. While green models typically consume more battery power and carry a higher price tag due to the complex diode engineering required, their superior visibility makes them the preferred choice for contractors and serious hobbyists alike.
Key Features and Specifications to Consider
Beyond beam color and device type, several technical specifications dictate how well a tool will perform in real-world conditions. Self-leveling mechanisms represent a massive upgrade over manual leveling devices, utilizing internal pendulums to automatically correct for minor surface tilts within a specific range, usually plus or minus four degrees. If the surface is too uneven for automatic correction, the device typically flashes or locks to prevent inaccurate measurements, safeguarding your project from costly alignment errors caused by unstable tripod setups.
Durability and power supply are equally critical factors for long-term satisfaction. Job sites are inherently hazardous environments where tools frequently experience drops, dust accumulation, and moisture exposure. Look for models featuring rubberized housings and high Ingress Protection ratings against water and dust intrusion. Additionally, consider whether the unit operates on standard alkaline batteries, rechargeable lithium-ion packs, or hybrid systems, as continuous uptime is vital when you are in the middle of a complex layout procedure.
Practical Guidance for Setup and Operation
Proper setup is crucial for achieving accurate results with any leveling device, regardless of its quality or price point. Always begin by mounting the unit securely on a stable tripod or using specialized magnetic brackets designed to attach to metal studs and doorframes. Even the most advanced self-leveling system cannot compensate for a wildly unstable base, as vibrations from nearby foot traffic or heavy machinery can blur the projected line and compromise your reference marks during critical layout procedures.
To ensure your equipment remains accurate over years of use, routine calibration checks are strongly recommended. You can easily test a line laser at home by projecting a beam across a darkened room onto a wall at a measured distance, marking the line, and rotating the device 180 degrees to check for deviation. Storing your device in a padded, protective case when not in use protects the sensitive internal pendulum assembly from shock damage during transport between different work locations.
- Secure the device to a sturdy tripod or magnetic wall mount to prevent movement.
- Power on the unit and allow the internal pendulum a few moments to achieve self-leveling.
- Adjust the height and angle to align the projected crosshairs with your reference starting mark.
- Use a laser detector if working outdoors or in extremely bright indoor lighting environments.
Frequently Asked Questions About Laser Levels
Are green laser levels always better than red ones?
Green lasers are significantly brighter and easier to see in well-lit conditions, making them more versatile. However, red lasers are typically more affordable and consume less battery power, making them adequate for dark indoor spaces.
What does self-leveling mean on a laser level?
Self-leveling means the internal pendulum uses gravity to automatically adjust the laser beam so it is perfectly horizontal or vertical, provided the unit is placed on a surface within a few degrees of level.
Can I use an indoor laser level outside?
Indoor lasers are generally difficult to see outdoors because sunlight overpowers the diode. For outdoor use, you typically need a rotary laser paired with an electronic detector sensor to pick up the beam.
How do I check if my laser level is accurate?
You can perform a simple calibration test by projecting a line onto a wall at a fixed distance, making a reference mark, rotating the tool 180 degrees, and verifying that the new line matches the original mark.
Article Was Generated By AI.